Pages

Showing posts with label Decorating. Show all posts

Wednesday, February 22, 2012

RUN to your nearest TARGET!! Updated!!

(FYI you know if you don't like my choice of music you can always scroll down and put a PAUSE on the playlist. otherwise just set back and listen. the current song is on my running playlist.)

I know, I know!! I have been MIA. Lots. going. on.  people. LOTS! I promise to explain later.  But for now you have to run to your nearest Target and get yourself a $2.50 Boot Tray. Then RUN to your nearest dollar store and pick yourself up a couple bags of rocks!! I promise you will thank me. It will totally complete your entry... I know it did mine. 

I have seriously been swooning over the picture below for; I am not sure how long now. I think it's the mixture of the leopard print coat and the fancy 410 or 12 gauge setting in the corner. ( I assure you the littlest punk and I had a very extensive conversation on just what we thought that gun might be) 

It just seems to be the perfect picture of my life.  


Here are a few more examples,just in case I need to convince you to get your run in today. By the way I have been doing a lot of that lately... I digress. Or maybe just in mind. I see there are not as nearly as many words on the screen as I thought I had typed. I am telling you... A LOT going on. 


Well, what are you doing? Get running to Target before they are all gone. I know that dollar section goes fast. Just don't let this happen to you.


Now if I could only find $2.50 Hunter leopard print boots.... I found some nice leopard print rain boots at Wal-Mart!! Woot Woot!

Wednesday, December 14, 2011

Christmas House Tour


Welcome to my home!! I can't believe it is half way through December already. The end of the year is always a crazy time for us. We have to wrap up all the year end book keeping and all of the festivities going on... I sort of lose track of time. 

So far this year I have only decorated the front door, entry and living room. I am keeping it simple this year. We are trying to remember what this holiday/ holy day is all about. 


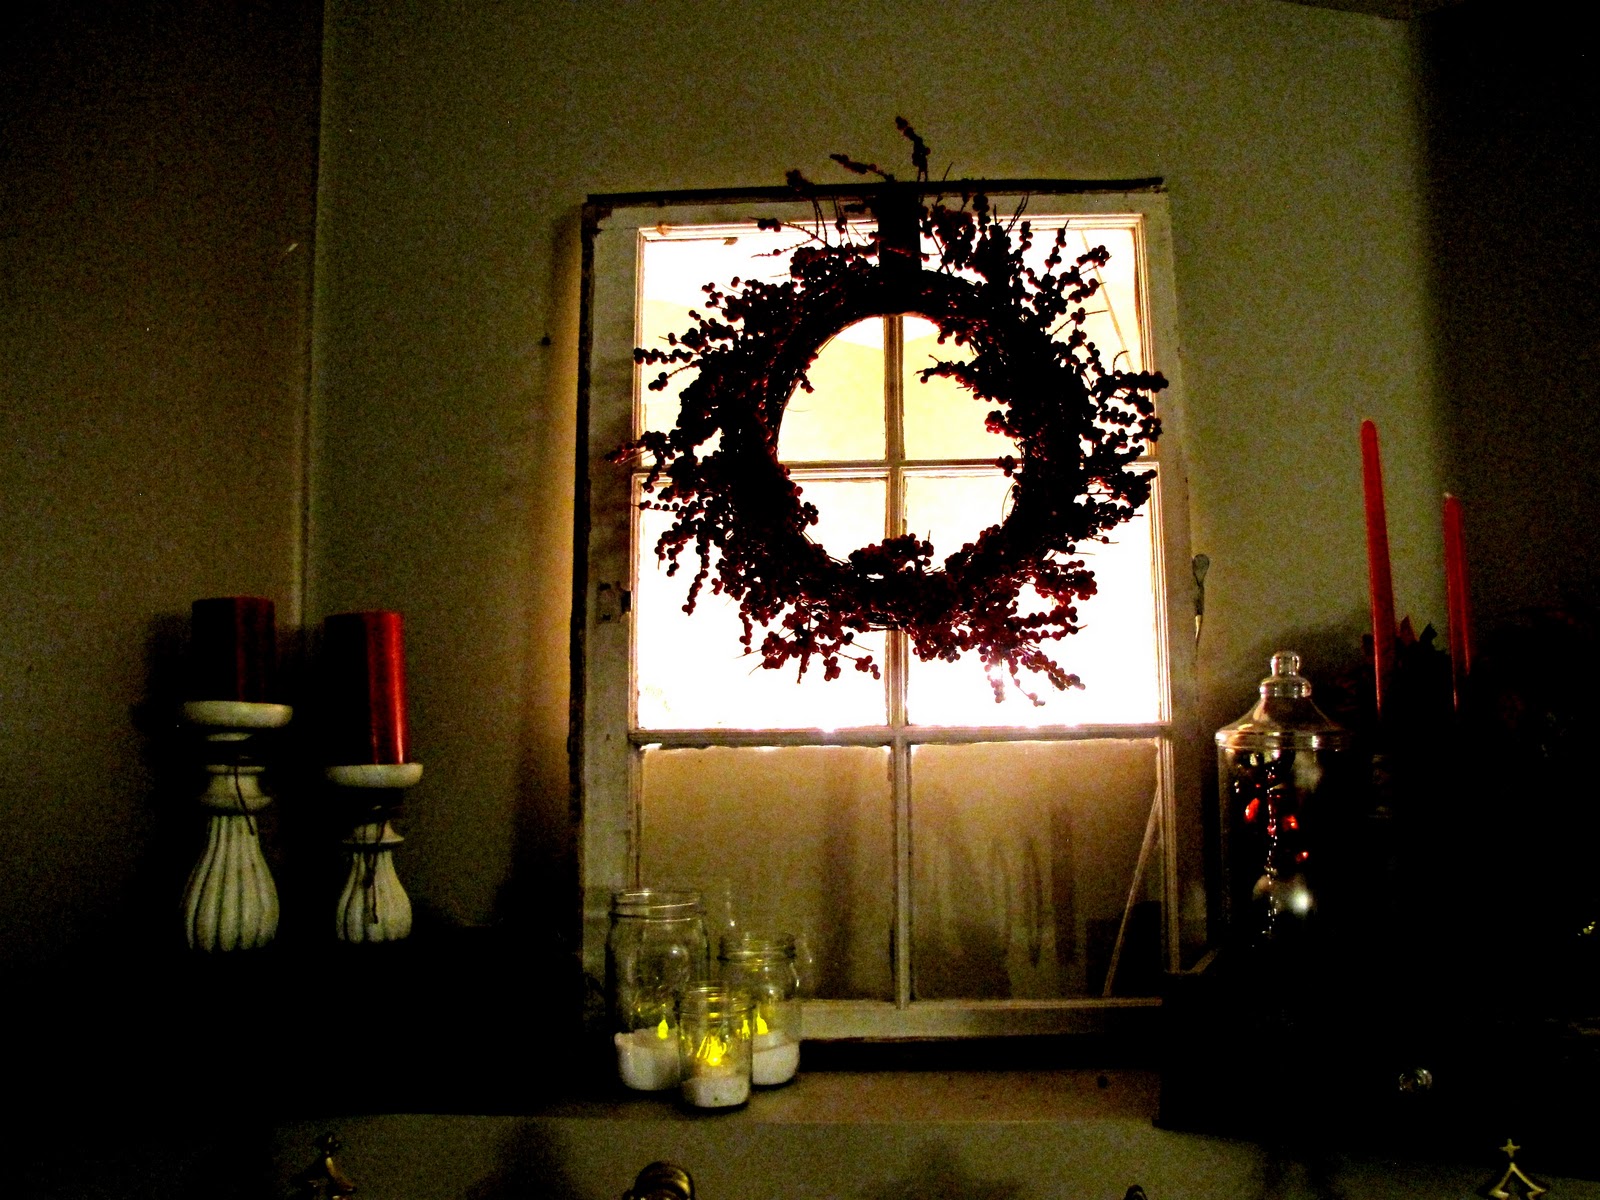
I think my favorite spot this year is above the fireplace. I have this weird little "hole" in the wall. It is really not big enough to put a tv in. It's just a little decorative nook, but I never know what to put it in. So, for most of the year I place a large picture over it. This year I put some white lights in it and placed a vintage window over it. 


I just used some junk as fillers on the mantle. I am pleased with the over all look.


We do a family tree around these parts. When my kids were little I always wanted a "mom" tree. You know the ones that are perfectly decorated. I soon realized that I could try to decorate perfectly, but they would remove the decorations and put them where they wanted anyway. Soon we adopted the family tree. I got to put on the decorative balls and topper on the tree. The punks would place all of the whimsical ornaments. This year it was like pulling teeth for them to even do that. I have heard the old saying "time flies, they grow up so fast". BUT who knew it was so true. I have a feeling that my next few years are going to be all about the "mom" tree... sniffle. 


So, that's it for now. I am hoping to get some wrapping done and maybe a table center piece done before Christmas eve... We'll see.  

Isaiah 7:14
Therefore the Lord himself will give you a sign. Behold, the virgin shall conceive and bear a son, and shall call his name Immanuel.


Wednesday, October 12, 2011

I love it so much... I don't know what to say!! With an Update

Oh the things I do while L.O.V.E. is away hunting...

 It all started with a picture I found on the world wide web. I became obsessed with this chair... but where would I put it? AND my budget was not letting me purchase such a lovely statement piece :(


 Then I saw this beauty


My wheels got turning!! I was so excited. I knew exactly what I was going to do... then I got a little nervous. It's been a while since I trusted my artistic side. With a little encouragement from L.O.V.E and a TON of help from the oldest punk, we began the project. We went from this sad little dining set.


To this thing of beauty. I am so pleased with the results!! I don't know what to say. So I am going to post the LONG process with pictures, because, well aren't they worth a thousand words anyway?


Remember we started with this ripped and tattered thing. That had layers, upon layers of fabric. AND one very sad layer of  cushion.


So we decided to add a f.a.b. new piece of cushion.


Then we added the incredible cowhide. Don't worry it's not real cowhide... I couldn't afford it :) that and it might shed. Like a friends  moose hide that she kept on her bed... 

That was day 1.

The next day while the punks were away at school and L.O.V.E was at work, I started the sanding. When L.O.V.E. heard I was sanding it IN the house... I was in trouble. He explained that the dust will get into the electronics and places I would never even imagine. Good thing I was already done. 


Next, I aged the top of the table. I got a bag of screws and started banging the top. Making all sorts of little notches and dings. It was so FUN. Really it was and when I was all done and stood back, I started to cry. What had I done to our table? 


To late now. I can't turn back. I told myself, finish it!!

 We started painting late that night, right after little punk and L.O.V.E left to hunt the great Elk. We called it a night at 1 A.M. 

I was a tired and weepy and grouchy ( for those of you who know me, 11o'clock is my usual cut off time) It looked very retro and not what I had imagined. Oldest punk starts giving me some advice. It went something like this " you know if you want to be successful you have to finish what you start. Even if you don't like it. When you are all through you have learned something. Who knows', in the morning you might really like it." Wow he is wise. He is going to be one amazing man when he grows up...


Well,  we woke up and started on our project again. He aged the chairs, while I aged the table. Then we stain washed it and let it dry. I also stain washed the top. It brought out all of the little details and it REALLY did look like old barn wood.


I am in love with it!! It's just as I imagined. Now we just have to put a nice finish on the top !!


We found these great little knobs on an antique dresser years ago. We saved them for projects like this.


Come on now, did you really think I would be at a loss for words?

UPDATE*UPDATE*UPDATE*UPDATE

I have had a few people ask me what color I used on the table and just what is stain washing.

  • I used the color SWIM found in the Valspar paint section at Lowe's, in semi-gloss
  • The Stain is Minwax in Dark walnut
  • As far as stain wash goes.... well I am not sure if it's the real technical term. It is just what I thought of while doing it. It goes a little something like this. You get a brush, I used a cheap little brush, and you dip just the tip into the stain. Then you brush it on and push it into the little cracks. Then right away with a wet rag, one that you don't mind ruining, you wipe it off.Leaving just a trace on your surface. At some point your rag is going to to be covered in diluted stain. I then just rub it on the spots that I desire to have a little touch of color. I hope that makes sense. 


Thursday, September 29, 2011

Look What I Can Do....

 It worked!! I can cut glass. No I am not kidding!!

A while back while doing some pinning I saw this Pin


I thought Oh My Goodness!! How cute!! that would be such fun decor for a wine tasting. BUT how on earth did they get those candles in there. Well duh, they cute the bottoms off.

Then I remembered about three years ago, how L.O.V.E. made an EPIC beer lamp.( you thought I was going to say bong.. ha) This thing was incredible, I wish we would have taken pictures :(  It also took Fo EvA to cut all the beer bottle bottoms off. I sulked for a day or two.

 Then I started pinning again and I ran across This Tutorial. I tried it and it worked. BUT I did mine a little different. Let me explain. I am a skimmer. Yeah, I don't read ALL of the instructions. I saw the supplies, I gathered my supplies... I was missing something. The main ingredient COTTON!! yep, Cotton is the key. Keep reading... or if you are like me, just look at the pictures.


Step 1. Gather Supplies and fill your sink full of COLD water


Step 2. Wrap your glass bottle 5 or 6 times with Cotton. Not like me. The first time I just grabbed some yarn I had laying around. It was not cotton. I lit the baby on fire ... oh oops I am getting a head of myself. Keep reading.


Step 3. Remove the cotton from your bottle and soak your cotton in nail polish remover.


Step 4. Wrap the wet, soggy cotton around your bottle.


Step 5. Light it on fire. wish I had a picture of me and the oldest Punks eyes as we got to this step. (Have I ever told you we are a family of pyros. That's another post)


Step 6. Hold the bottle where you are NOT going to get burned. Roll the fire around on the cotton by rolling the bottle back and forth. Do this for about 20 seconds. Make sure all of the cotton has caught fire at some point. It has to get HOT! Sorry no picture here. This part requires two hands.

Step 7. Now place it in your sink of COLD water. You may hear some popping or cracking and then MAGIC!!! 


I am going to have to cut at least 5 or 6 more bottles. This is how I plan on using it at my next Ladies Night. It's going to be a blast. Wine glass painting and tasting!! Can't wait!


Inspiration!!


Thursday, August 11, 2011

Things I have tried on Pinterest

I have this love of  Pinterest. It has a lot of great ideas and beautiful pictures. I use it for inspiration and a checklist. I use it to get more organized and for some amazing ideas on decor, staging, parties, crafts, travel ideas and wardrobe ideas. I love it. The thing is you need an invitation to become part of this elite little group. If you wanna, you can ask me to invite you and I will. Because I am sooooo nice like that!!  Here are some great things I have tried from Pinterest. Some were huge successes, while others were just great ideas. I have a list of about 100 other things I would like to try. I have to remind myself one at a time... I get too overwhelmed.

Successes:


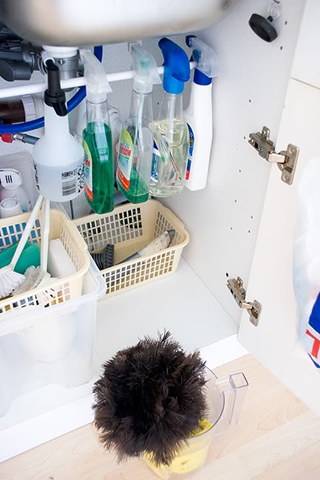
This was a success so far. It made a huge difference under my sink. We will see in a week, after the bottles have hung there for a while. Best part of this, was that it was free... sort of, I mean I already had the tension rod in my basement from a year or so before. That counts right?I am afraid to show the before and afters. You all will judge.


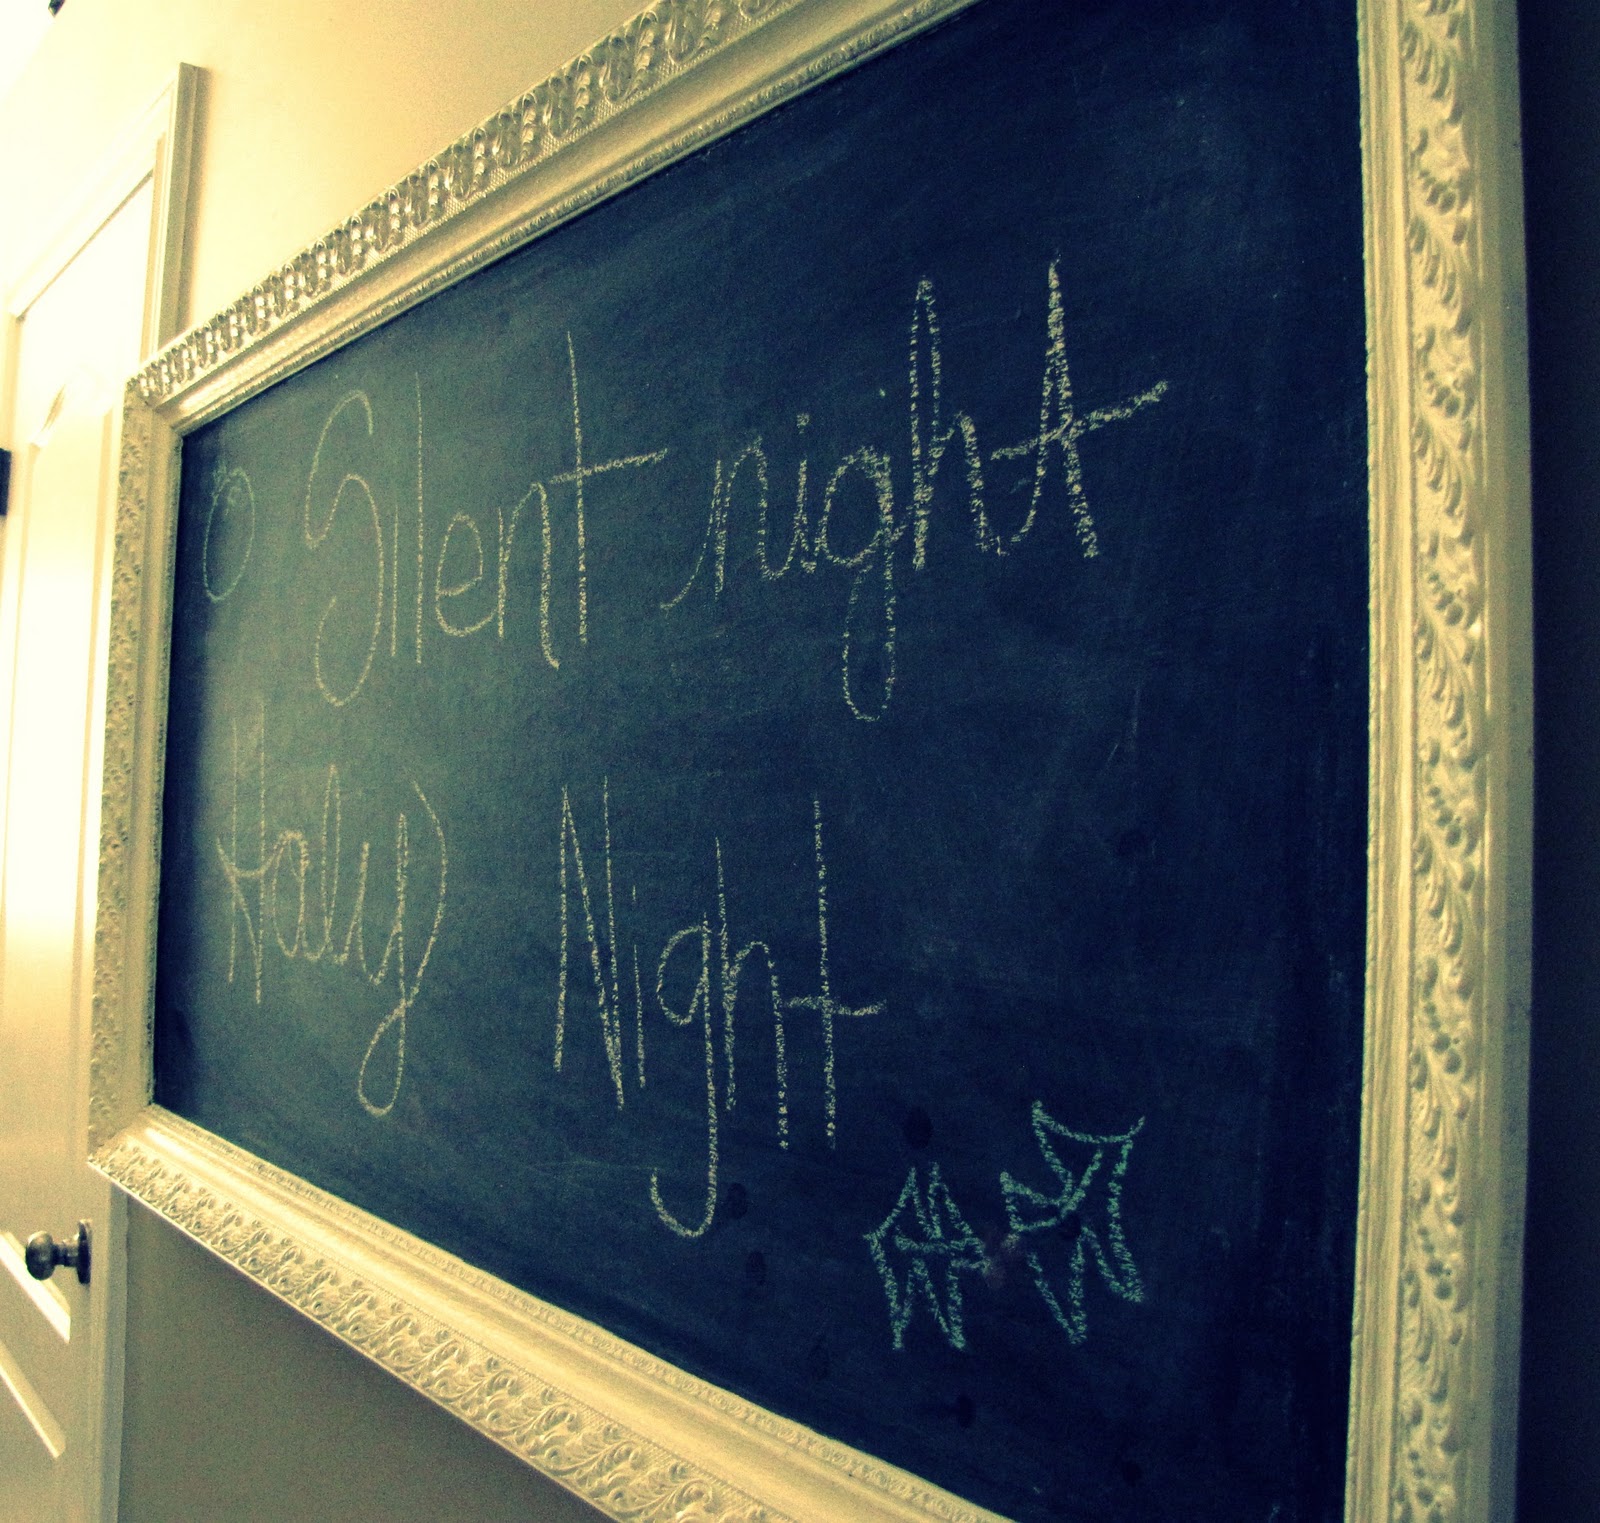
I have made  a few chalk boards in  my day. This picture was the inspiration to the new chalkboard that hangs in my entry. I loved the ornate, distressed, white frame. I found a hideous gold frame at the local second hand store for $5.00. Everything else I had on hand. It took me less than an hour total.


The source has disappeared. It was inspiration for my messy summer do. Super easy.


 But I did copy this tutorial to get the foundation for it.


I used all of these for inspiration outfits. I mean seriously good stuff on here.


I guess the only one that has truly been just a good idea was this one. I won't even show you the after. Lets just say I could not find my favorite shoe under the rubble of extra large purses.  


(source)

They were immediately hung back up in the coat/backpack/laundry room. Sure wish I had one of these. At last there is no room in my home for a space like this.

 (source)

I would settle for one of these.... Maybe if I beg and plead the L.O.V.E. of my life will build it for me!!
I would love to give you the source. Someone stole it and pinned it with out giving the credit. There is a tip for you. If you join pinterest make sure you give credit where credit is due!! Nice picture anyway.

(via Pinterest)
 
UA-45768586-1